Audiograms are an ideal way to promote your podcast on social media. Combining eye-catching imagery with a soundbite from your latest episode, they grab the attention of scrollers and entice them to learn more.
One way to create audiograms for your podcast is with Canva. You’re likely already familiar with this popular online design tool. But don’t worry if you’ve never used it before. It has an intuitive drag-and-drop interface, and you’ll be able to get to grips with it pretty quickly.
If you are new to Canva, we like this introductory guide from Casey Botticello over on Medium, which will take you through the basics.
Once you have the fundamentals of designing with Canva mastered, you are ready to get a little more creative. In this post, we’re going to give you a step-by-step guide to adding audio to Canva to create engaging audiograms for your social media channels.
Canva has both a free and a premium version. Although the premium version gives you more features, templates, and graphics, all the steps we are going to run through today can be accessed via the free version.
Let’s get started.
Step One: Grab a Soundbite
This step doesn’t happen in Canva at all, but in whatever software you use to edit your audio files. Take a short audio clip from your latest episode to use with your audiogram.
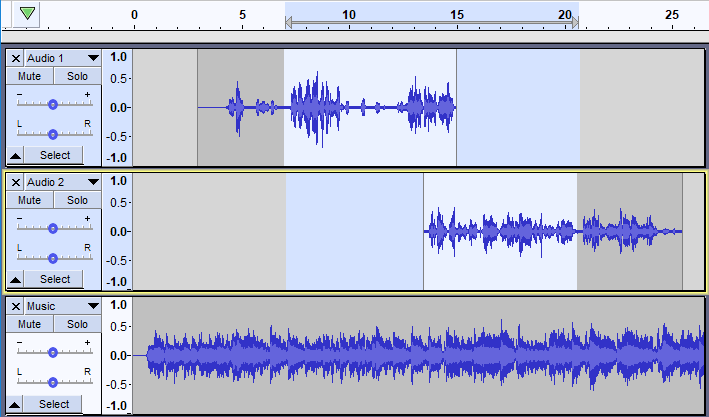
You want something that will intrigue the listener and give them a flavor of the rest of the episode. Your clip should make your social media followers want to click through and listen to the full podcast.
Most social media platforms will limit you to sixty seconds of audio, so make sure your soundbite is short enough. Scrollers are unlikely to stick around for anything longer anyway. And you just want to tease them, not give away too much of the episode.
Step Two: Select Your Template
Once you have your audio file saved, it is time to design your audiogram. Log into Canva and select a template.
Canva offers a library of pre-designed templates that you can adapt to your own brand. Or you can start from scratch with a blank canvas which is the right size for the format you’re using.
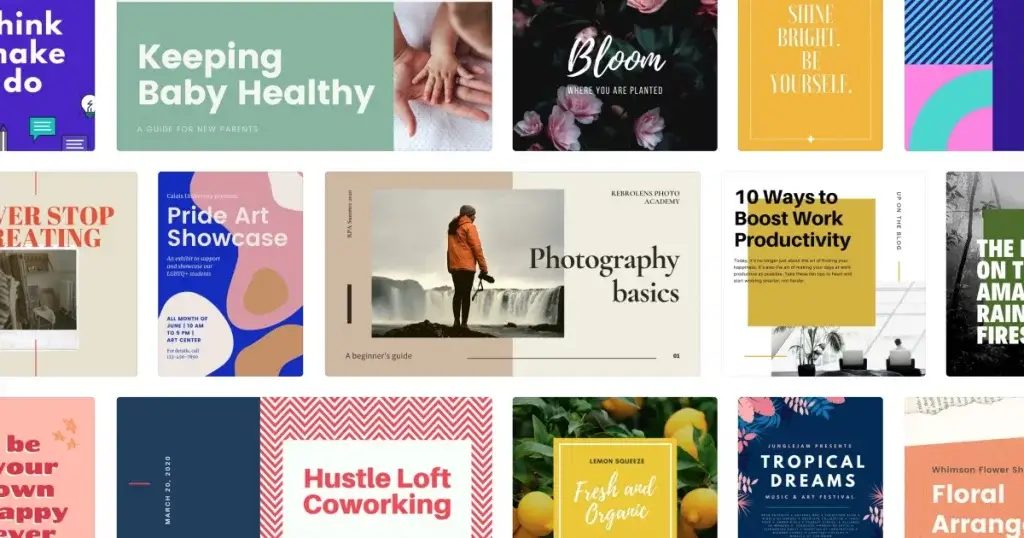
Make sure that you choose a template that is the correct dimensions. An Instagram Story post is a different size from a grid post, for example. Each social media channel has its own sizing for posts, so it is best to design your audiogram with the platform you are using in mind.
Let’s say we want to create an Instagram grid post. We’re going to work from one of Canva’s templates for this example. But we highly recommend saving some templates of your own – at least one for each social media format. It will make creating audiograms much speedier in the future.
You can still use one of Canva’s templates as your basis and adapt it as needed to suit your branding.
As you’ll see, there are plenty of options to use for an Instagram post. Just keep an eye out for the little symbol in the bottom right-hand corner – if there’s a dollar sign there, it isn’t available on the free version.
You can also use the search bar at the top to narrow down your options.
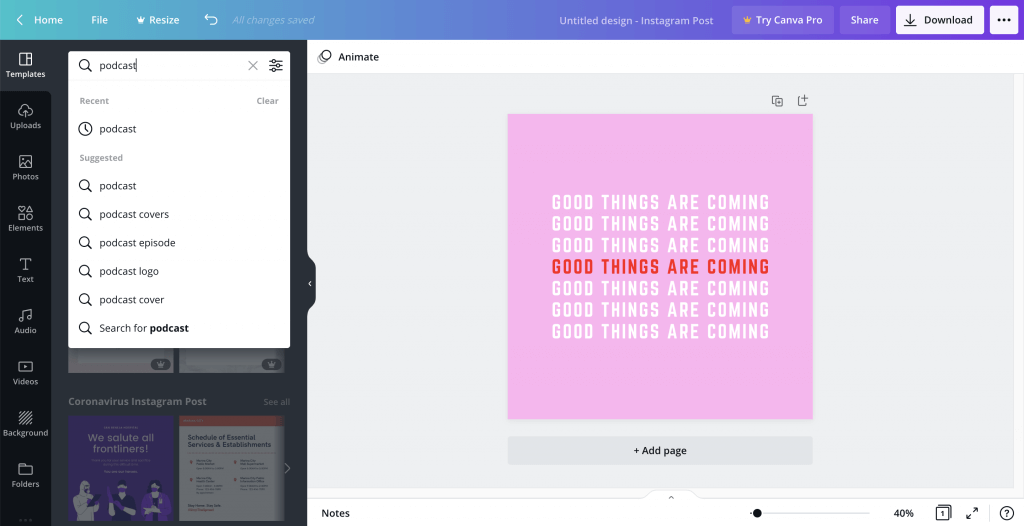
We’ve chosen one of the free templates that come up when you search ‘Instagram posts podcast’.
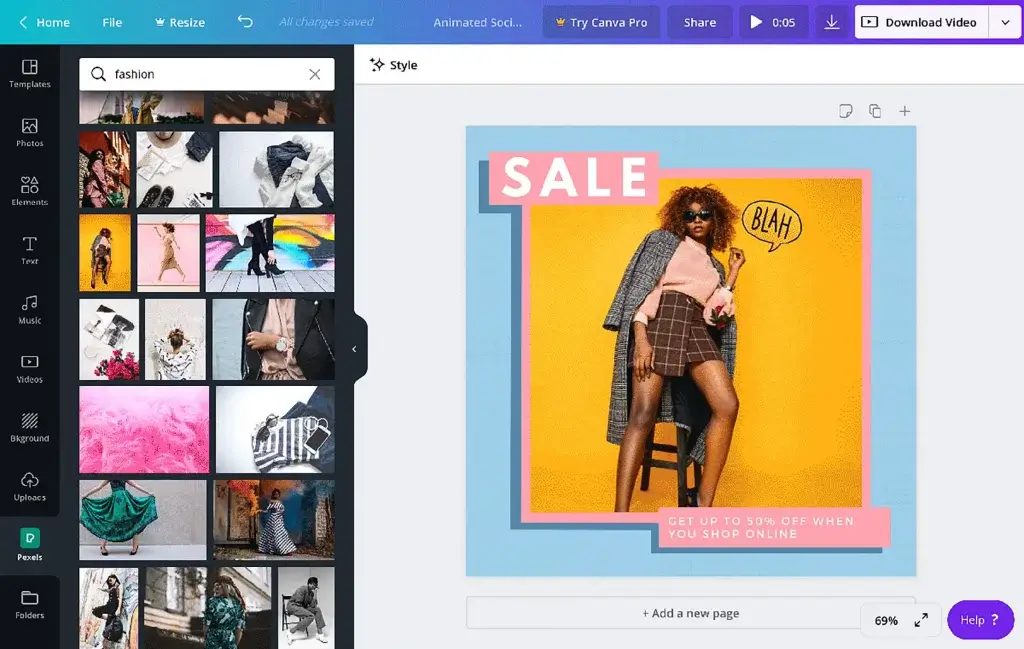
Step Three: Design Your Audiogram
Once you’ve chosen your template, you can switch out elements to match your branding and the episode you are promoting.
One vital ingredient is something to indicate to your social media audience that this is an audiogram, not a static post. Most users have their sound muted as they browse social media, especially if using a mobile.
Although there will be a little unmute option, it is easy for people to miss that as they scroll by. So, we want to add an animated sticker to show there’s sound.
Go to elements > stickers. Then use the search bar to find something appropriate. A soundwave is a classic option.
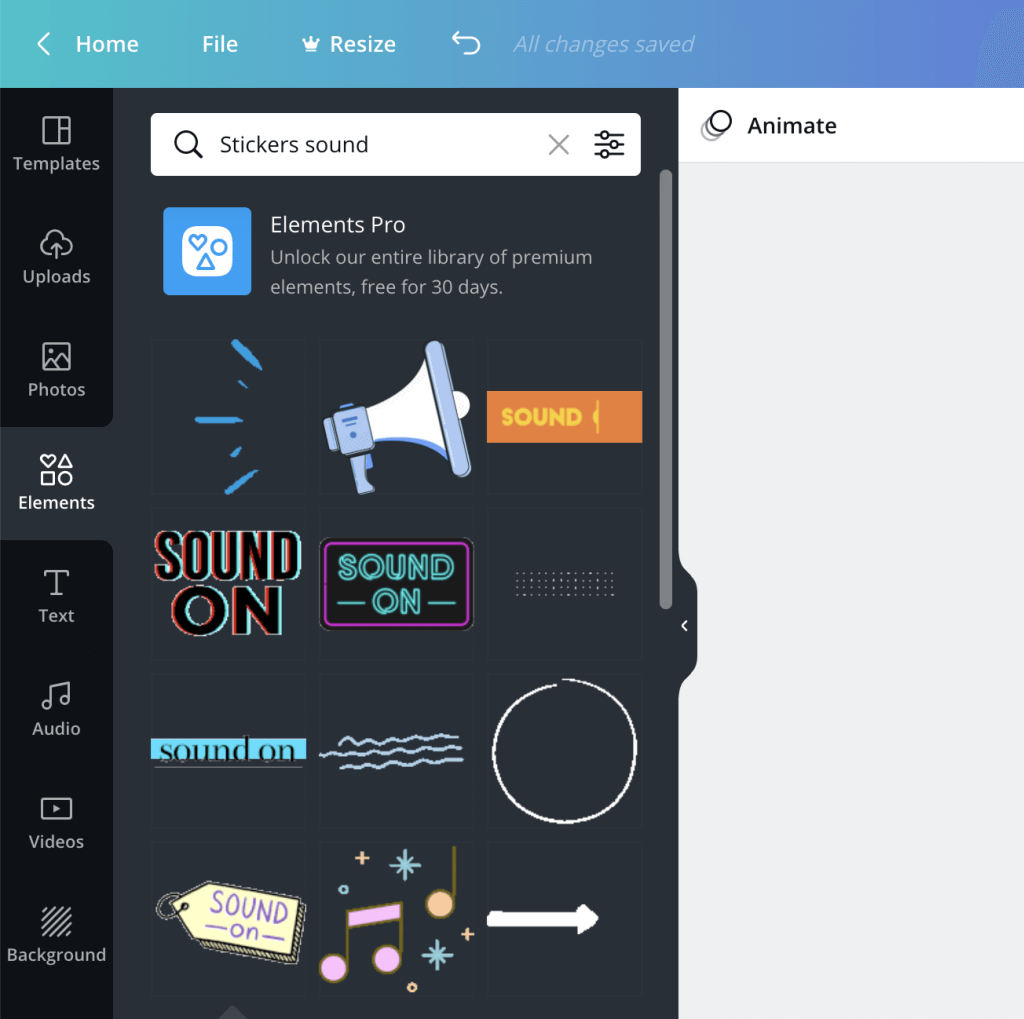
Then click and drag the sticker you want to add to your design.
Step Four: Add Your Audio
Once you are happy with your design, it is time to add your soundbite. Fortunately, adding audio to Canva is straightforward.
Go to uploads and then click on the audio tab.
When you click on the upload media button, you’ll be presented with a list of options. Select the one where your audio file is stored. Ours is just on the device.
Find your audio file and click open. It takes a moment to load, and then you will see it appear in the uploads list.
Click your audio file and drag it over to your design to add it. You’ll know it has worked because the audio clip will start playing.
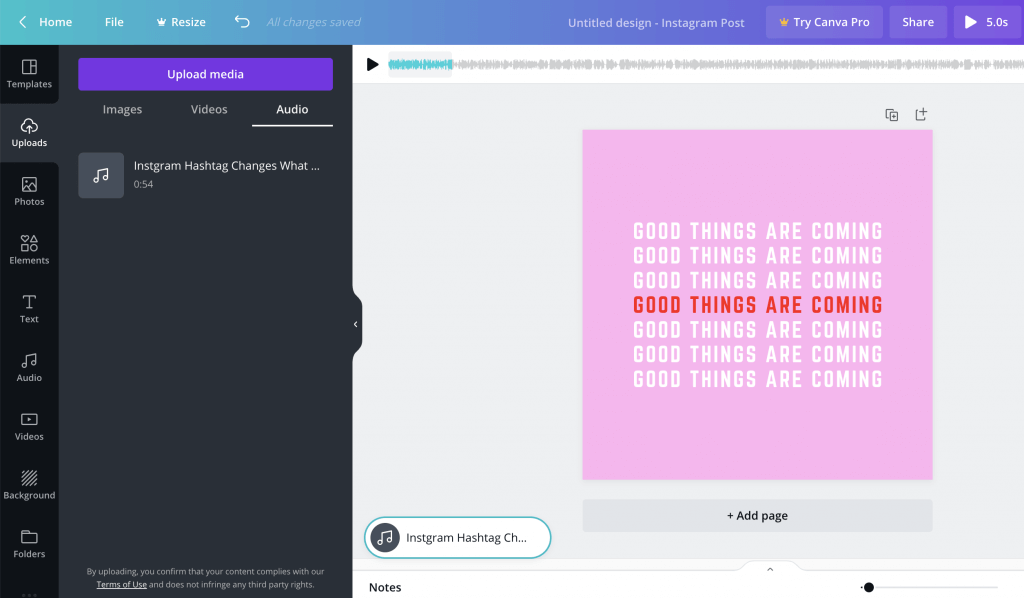
You’ll also see the audio bar appear at the top of the screen. And a little icon will appear at the bottom, showing which track you have added.
Step Five: Export Your Audiogram
Almost there. The final step is to export your audiogram. Click on the download button in the top right corner.
Make sure you have MP4 selected as your file type. Canva should choose it for you automatically, but it always pays to make sure.
Click the download button. Once your file has been downloaded, check to make sure it is working correctly before uploading it to social media.
All done!
Your audiogram is now finished and ready to go. As you can see, this is a straightforward process. Once you have some templates set up, creating audiograms in Canva is quick and easy.
However, there are a few limitations to mention before we end. One is that the length of your audio is restricted by the length of the video, sticker, or GIF you’ve added to your design.
In the example above, the maximum length of the soundwave animation was 30 seconds. But our audio clip was 45 seconds. So, the clip was cut off at the 30-second mark.
The other major limitation is that there is no easy way to automatically add closed captions to your Canva audiograms. You’ll need to do this manually or use an additional subtitling tool.
Just keep those restrictions in mind when adding audio to your Canva designs.